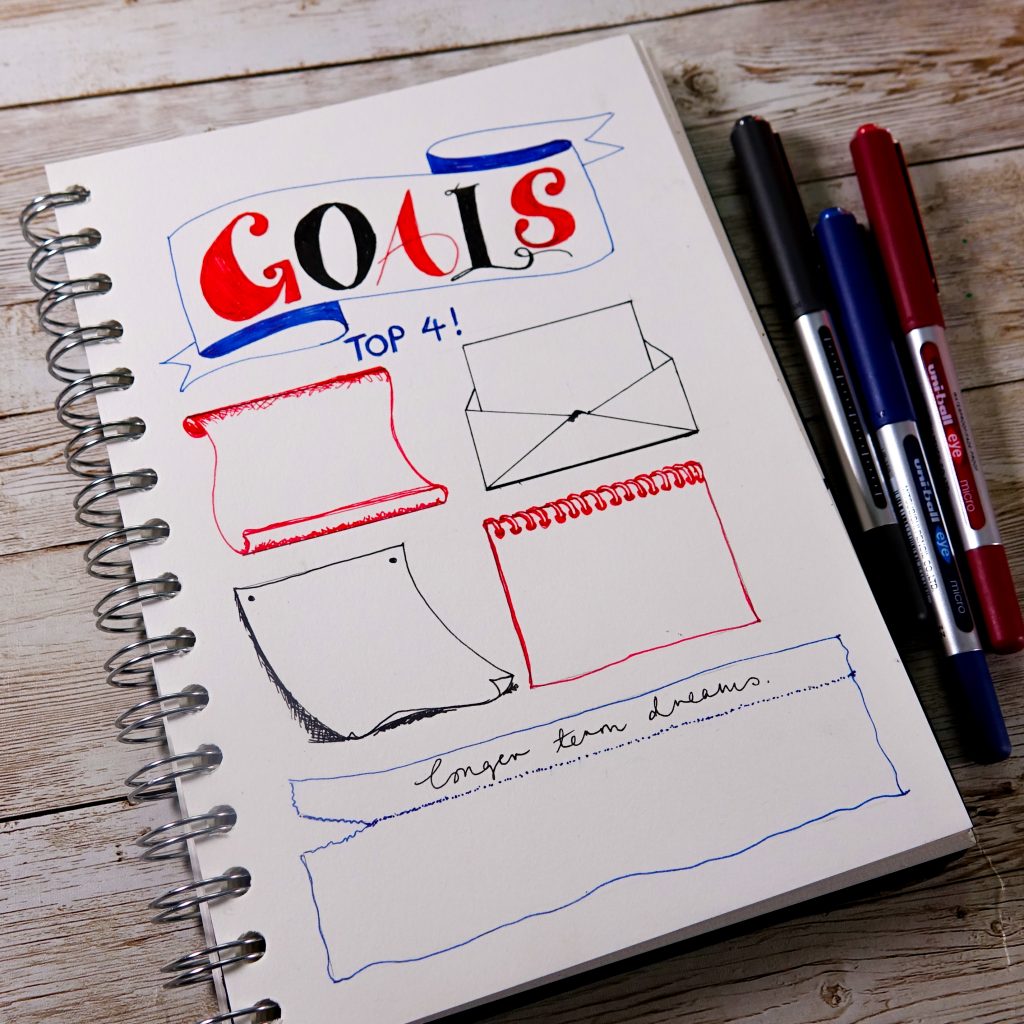
We show you how to design an easy journal page with uni-Eye Micro pens.
Bullet journaling is a brilliant way to stay organised and focused. Seeing as it’s the beginning of the year, this easy to follow bullet journal project takes ‘goals’ as its focus.
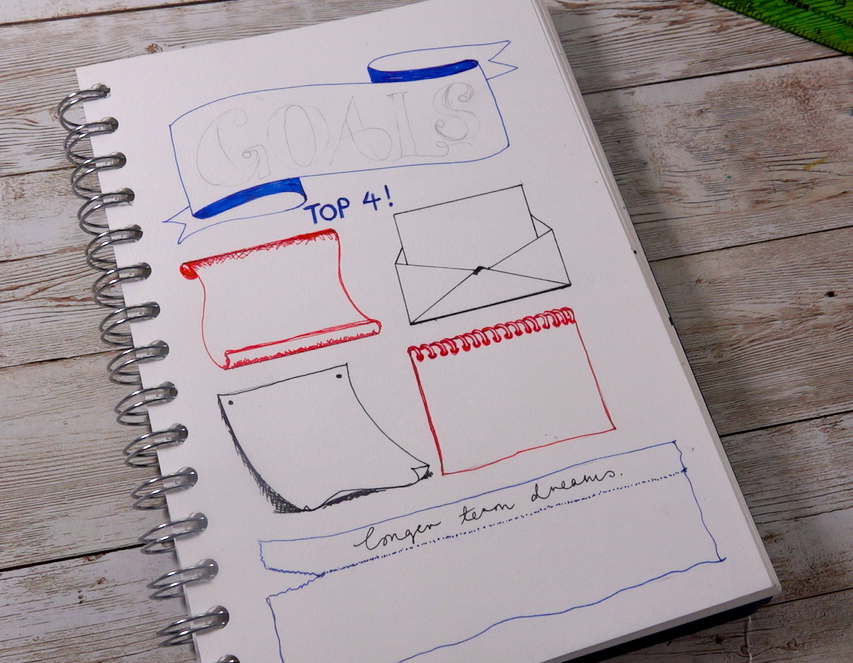
The simple journal page design allows you to to set your ambitions out clearly while exploring how to draw some basic stationery-themed motifs you can recreate throughout your bullet journals and scrapbooks.
Easy journal page – you will need
We have started simple with this easy journal page project using essential uni-Eye Micro Pens. So you will need…
- A plain page journal
- A ruler
- Eye Micro pens in red, blue and black
- A mechanical pencil we recommend a Kuru Toga mechanical pencil
- An eraser
Create an easy journal page, step 1
First, make your header banner. 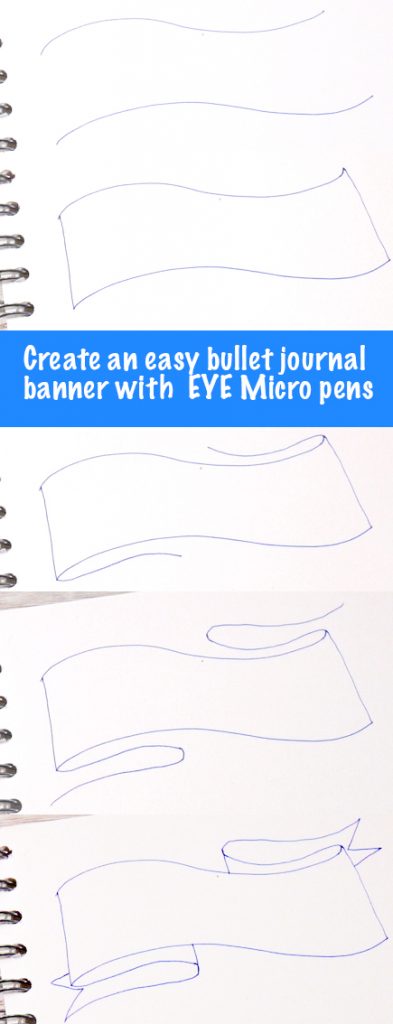
Drawing a basic banner is really simple.
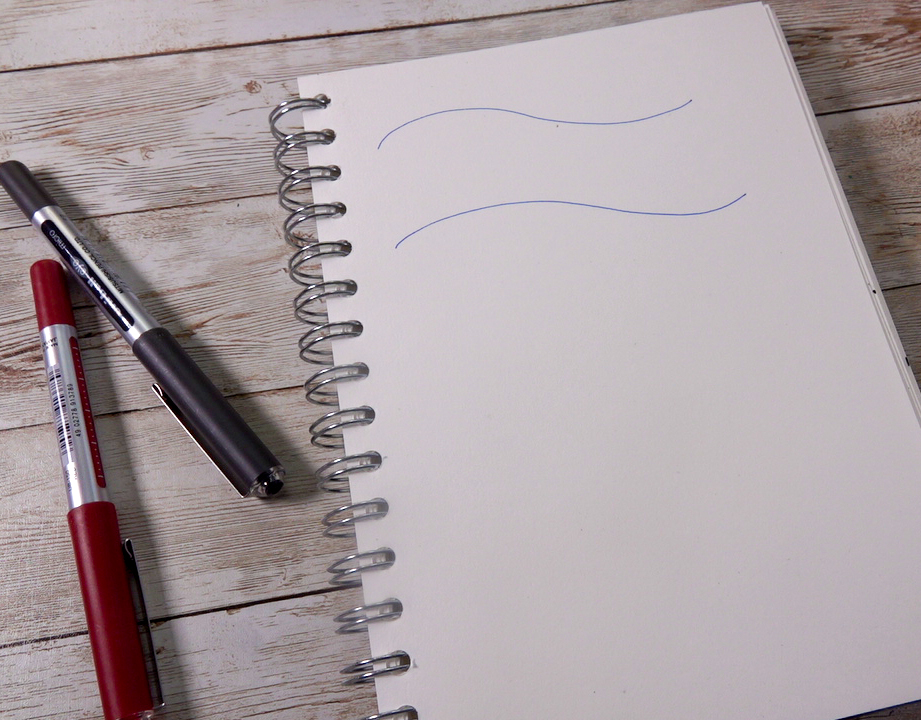
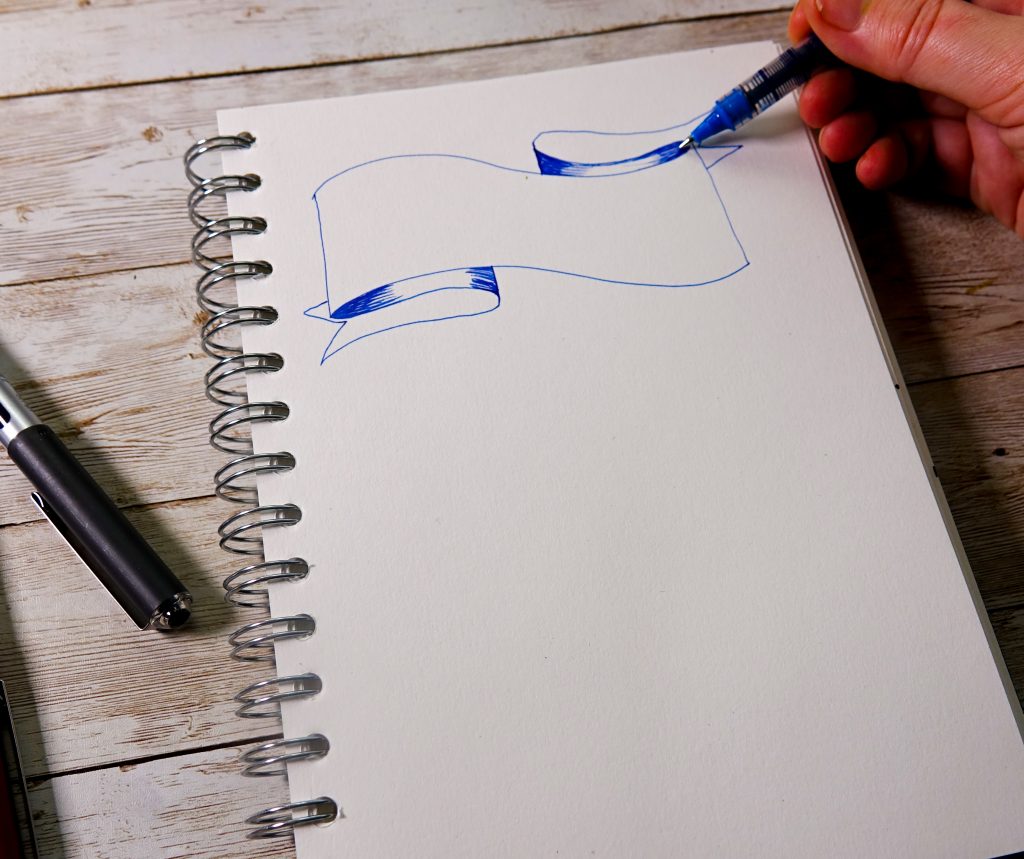
Use your blue Eye Micro pen to draw two wavy parallel lines.
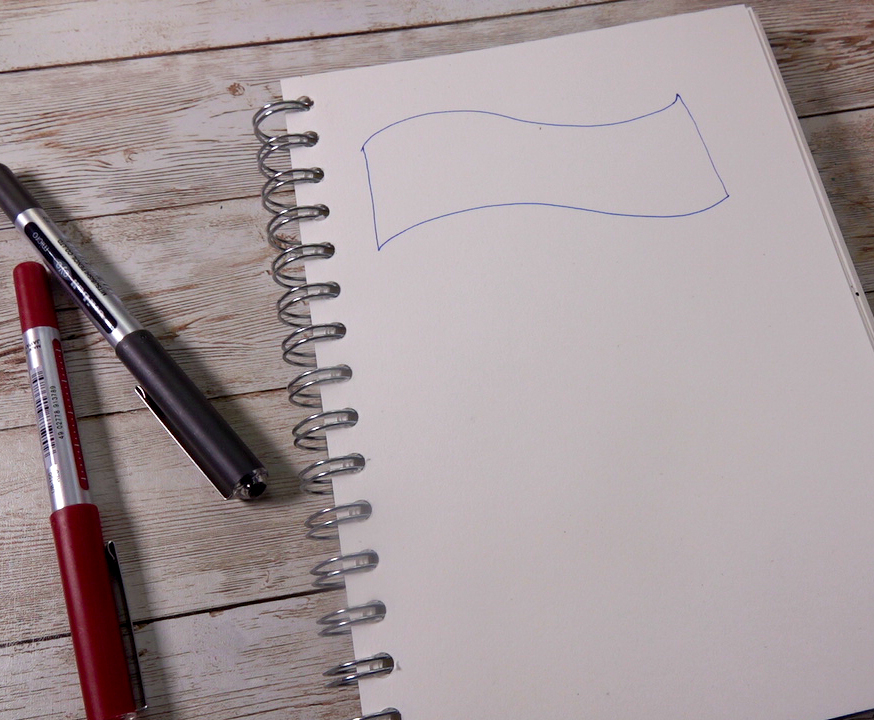
Now, join the two lines at either end as seen below.
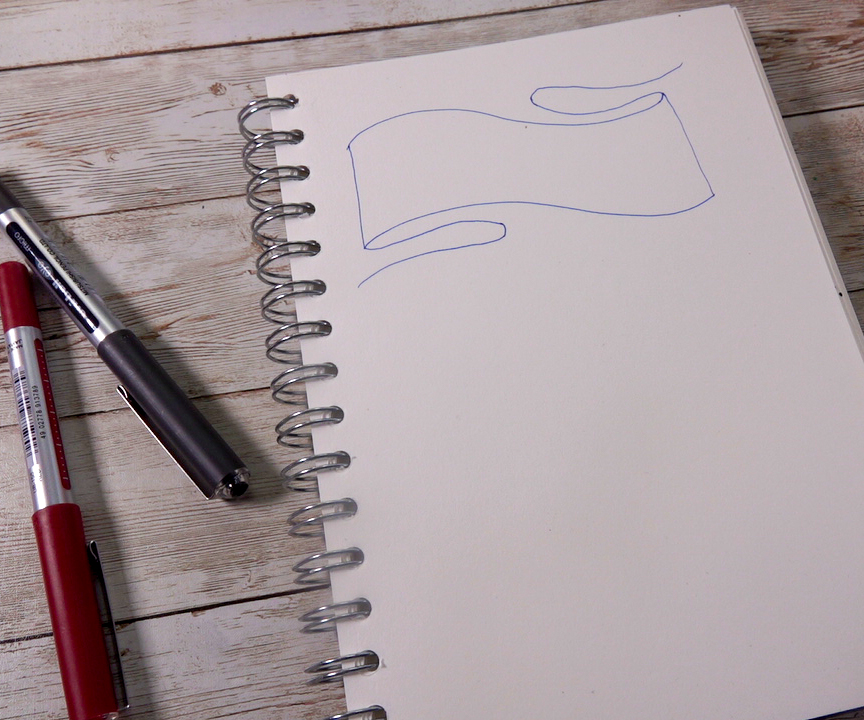
Once you have your basic shape, make some ‘squished S’ lines as illustrated below.
Draw an inverted ‘v’ shape at the top of each ‘s’. Then draw two short lines from the middle of the ‘s’ tucking underneath the main banner.
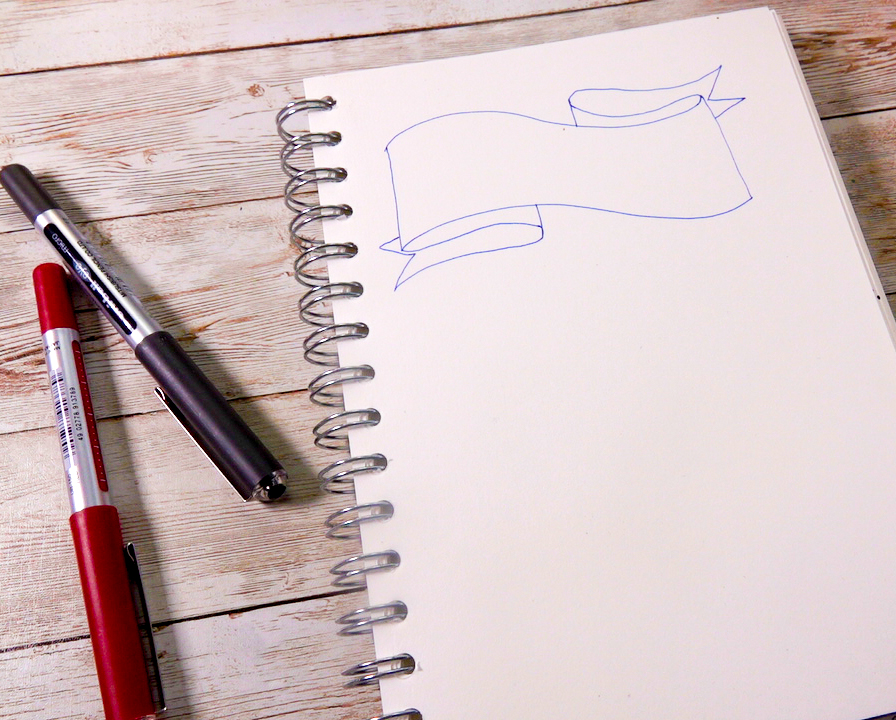
Now colour the back of our banner in to create depth.
Easy journal step two, draw a simple scroll
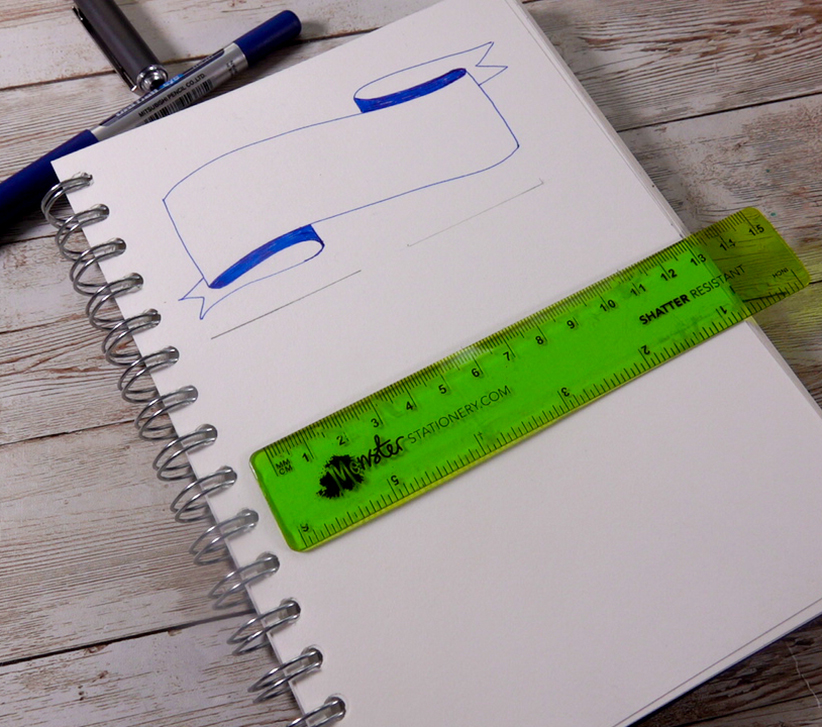
All of your mini four stationery-themed sections should start off with rough squares outlined in pencil. Once you’ve made these pencil shapes you can get going with your Eye Micro pens. Then you can rub the pencil lines out with your pen is dry.
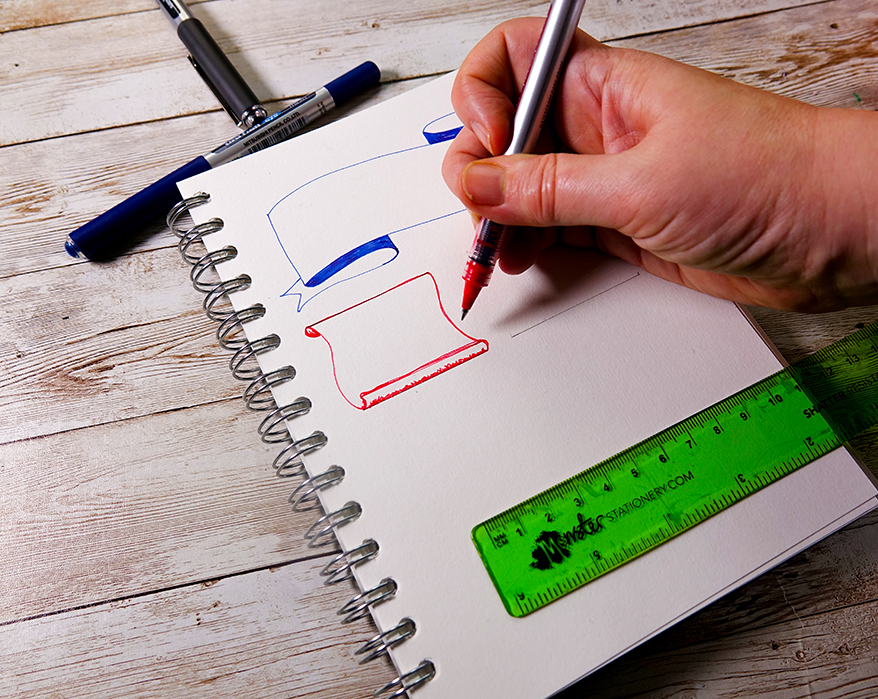
Using your pencil square as a guide, with your red Eye Micro, draw thin, elongated s-shaped lines from top to bottom, curving the left hand ‘s’ at the top and bottom of the line. Then go over the horizontal lines with Eye Micro. The draw in another horizontal line slightly above the bottom line as illustrated above. Shade to shape.
Create an easy journal page, step three
Now design an open letter motif.
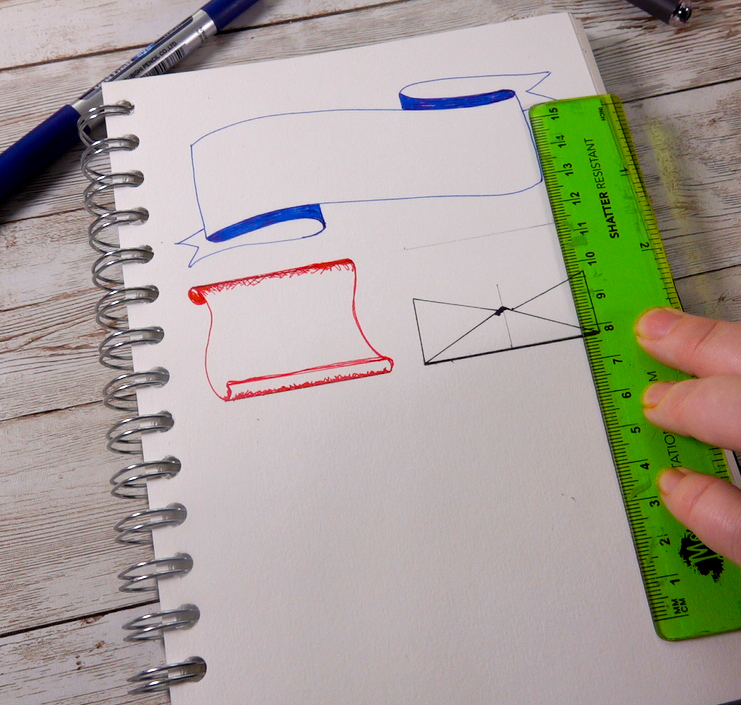
To create this motif, use a ruler and a black Eye Micro to draw a three-sided rectangle, with one long horizontal line and two short vertical. Use your pencil to mark the centre of the shape. Now use the pen to draw a large triangle at the bottom and two at the sides as shown.
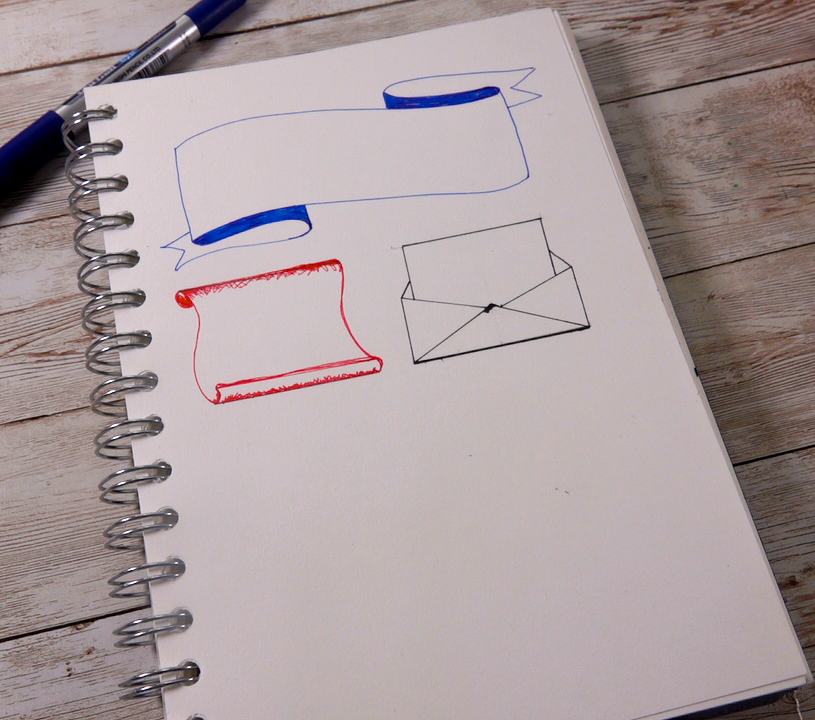
Now draw in a smaller open rectangle as pictured and join together with two diagonal lines.
Easy journal step four, paper pieces
Now you can draw your easy paper strips. This is a simple take on the basic pencil square.
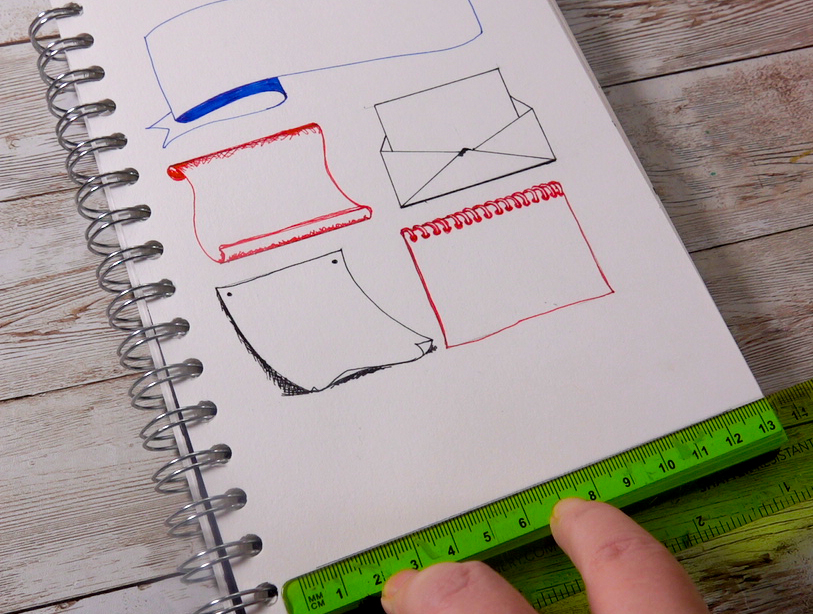
For the flying paper notice, draw curved diagonal lines from your top horizontal line. Then join with a straight line at the top and a wavy line at the bottom. Then shade as shown. For the note pad, simply use your pen draw the square the the top and side with a slightly wavy line at the bottom. Then add loops and holes at the top as illustrated.
Create an easy journal page, step five
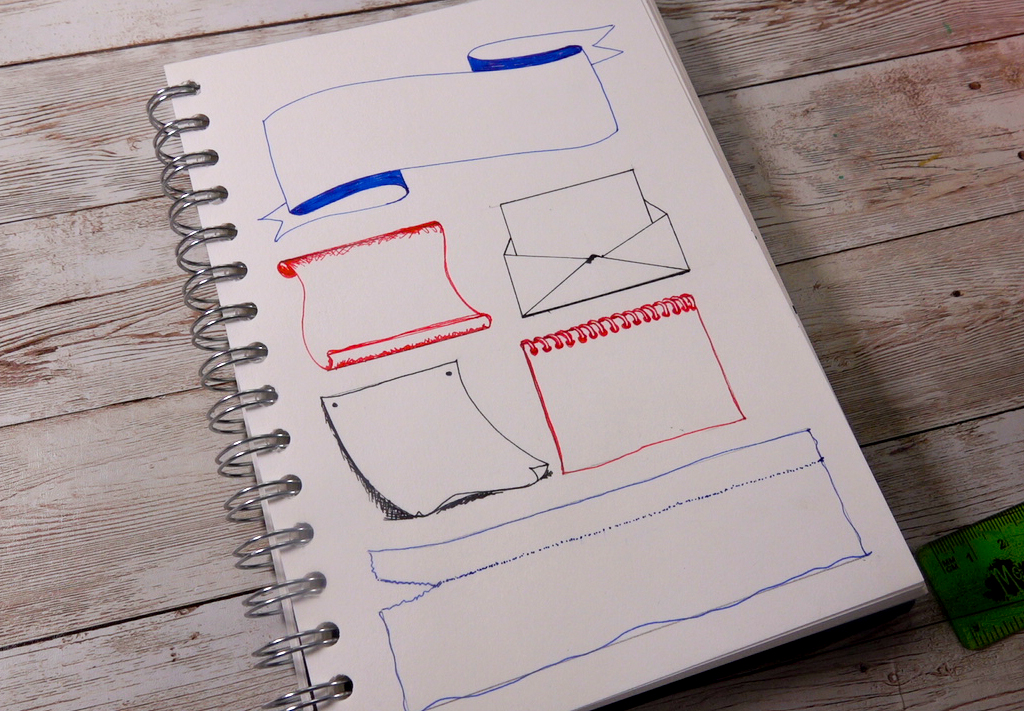
For the final section make a rectangular shape with your pencil. Draw a line at the top with your blue Eye Micro with a slight angle at the top left. Now, around 1 cm down make a line of little dots parallel to your angled top line. Join lines and complete as shown.
Easy journal step six, structure
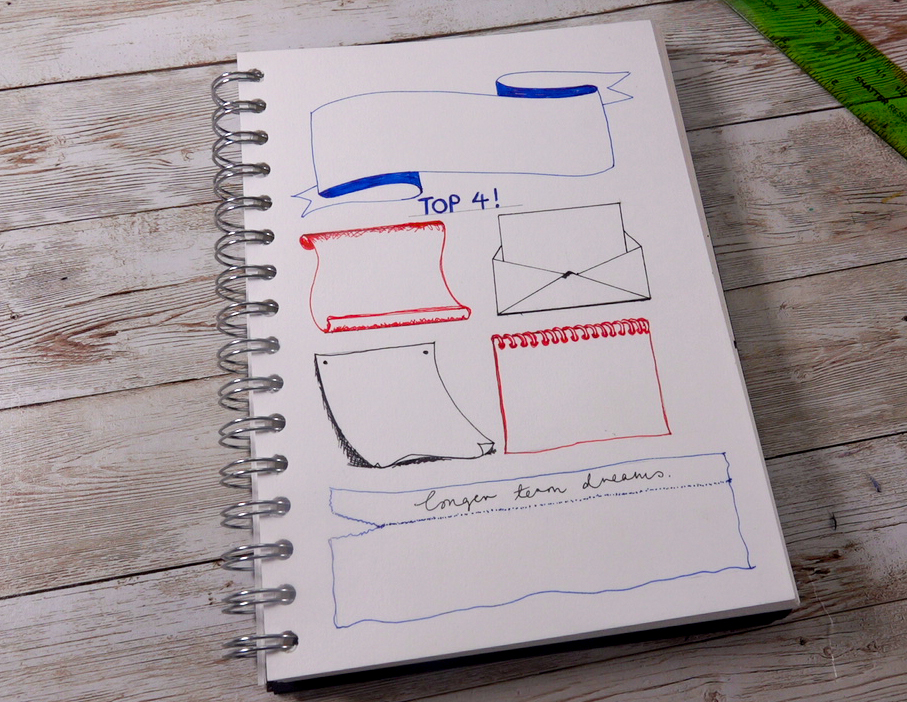
Once you have made your shapes, you can fill in your section headings to give your page further structure. You can free-hand your script straightaway with the pens or sketch your lettering with pencil to fill in.
Journal page – how to – watch the video
If you would like to see how we did in film, check out our video below..
